Testing dynamic links in React Native
Test dynamic link on the device
There are two steps involved in this section:
- Create a dynamic link
- Handle the incoming link
1. Create a dynamic link
Let’s generate a link on the Firebase Console and update our intent filter. This link must be unique and provided by Firebase itself. Follow these simple steps:
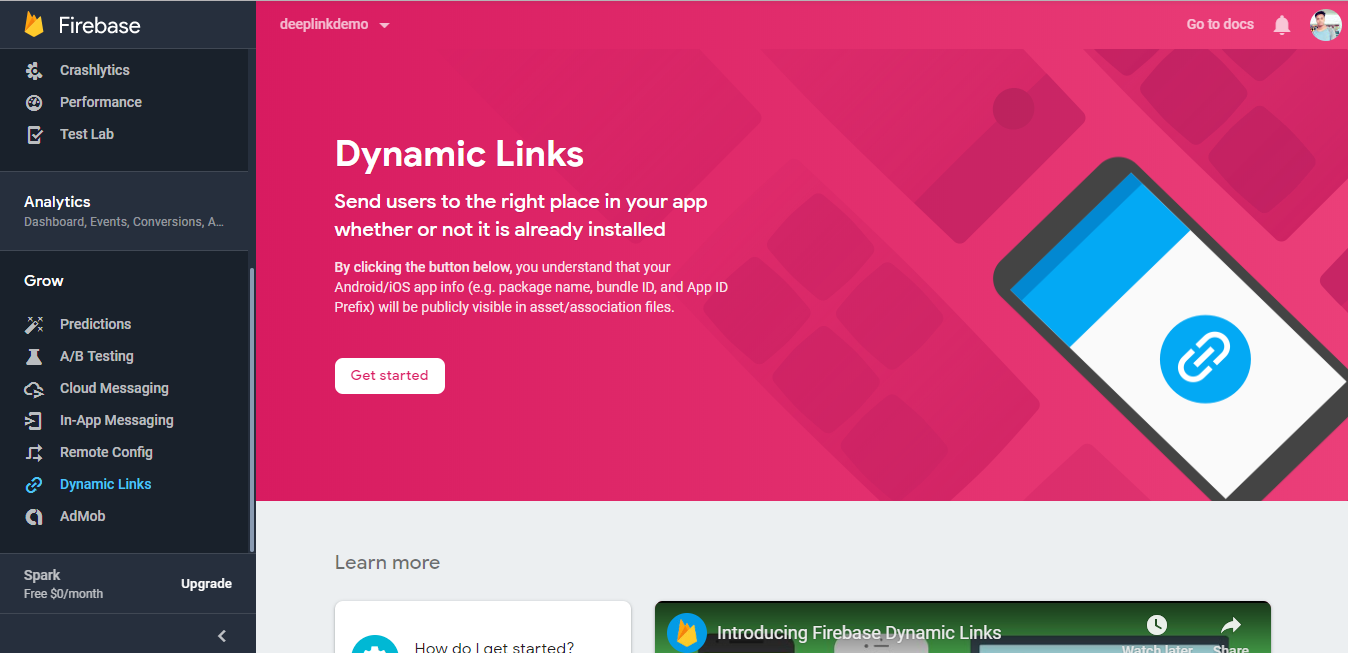
- Select your app on the Firebase Console and click on Get Started:
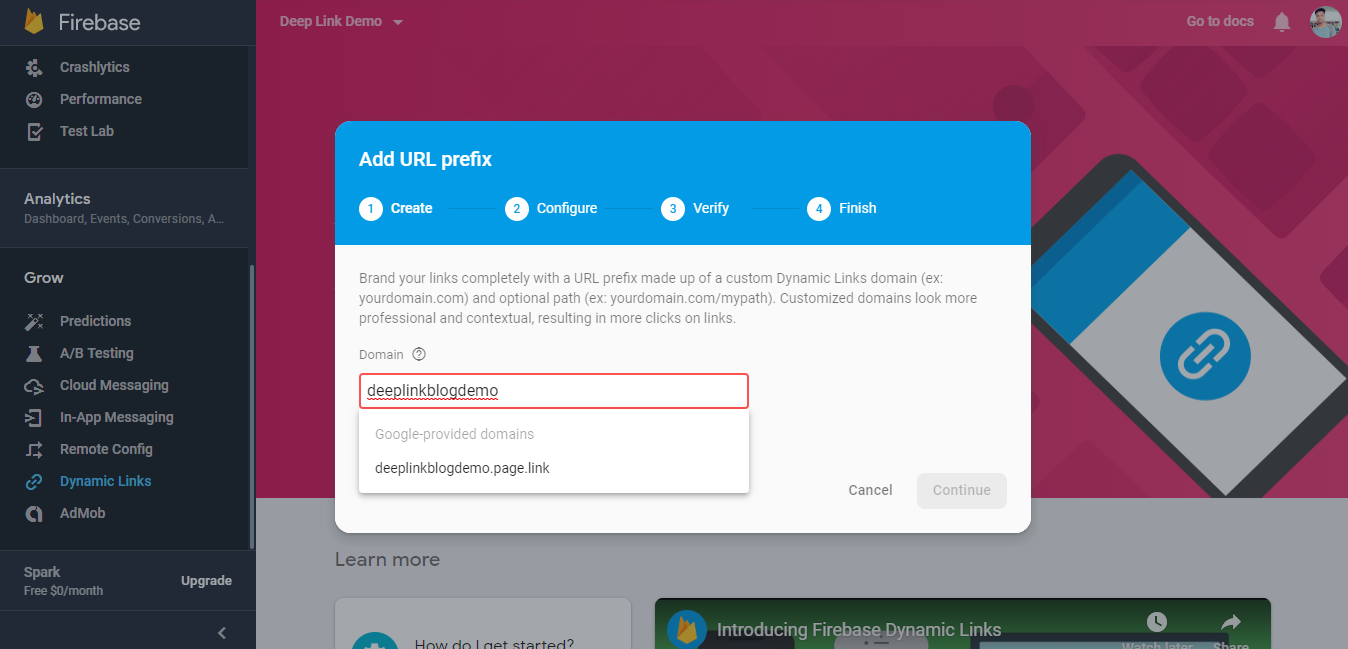
- Add a Domain. It will probably take a couple of tries to find a unique domain. Note it down when you find one (example:
https://deeplinkblogdemo.page.linkin my case):
- Edit
AndroidManifest.xmland update the<data>tag inintent-filterwith the Domain you just created:
<data android:scheme="https"
android:host="deeplinkblogdemo.page.link" />
- Click on New Dynamic Link and follow the steps. Provide both Deep Link URL and Dynamic Link name under Setup your Dynamic Link section.

Now that we have created our Dynamic Link, we can move on to the next step.
2. Handle the incoming link
The root file of your project, App.js, is the perfect place to add handling logic. So, let’s start editing the root file. Follow these three simple steps:
- Import the
firebasemodule.
import firebase from 'react-native-firebase';
- Add the code to watch for incoming links when the root file is mounted.
async componentDidMount() {
  let url = await firebase.links().getInitialLink();
  console.log('incoming url', url);
}
- Open the created Dynamic Link with any browser and check the log. Cheers if you can see the incoming url.
We can add conditions here to check for a certain match in URL and, based on that, we can write functions per our need. For example:
async componentDidMount() {
  let url = await firebase.links().getInitialLink();
  if(url === 'some_condition_here'){
    //code to execute
  }
}
Add the navigation path or anything else as you need and you’re good to go.
We will build a referral system in our React Native app using this logic because that is a perfect use case to demonstrate Dynamic Links.
How to solve dependency issues
You might run into some dependency issues because of the recent changes that happened to the AndroidX library (because I did). Here is how I solved them:
- Open your Project with Android Studio and select app folder.
- Go to Refactor -> Migrate to AndroidX -> Do refactor.
- Sync Project. If the issues persist, follow steps 4 and 5.
- You will probably see a list of build issues in Build Output. Go through each one of them and find the conflicting variable.
- Press
Alt + Enterand import the dependency. Remove the old one already present and we are done.
Short Dynamic Links do not work for some people. You can create a long version of Dynamic Links as described in the fourth article of this series. Visit this link to check the working demo repo.
I hope you’re able to resolve the issues and successfully implement the Dynamic Links from Firebase.
Share this article if you find it helpful.
See you in the next article.
Free Resources
- undefined by undefined