How to use the cycle template tags in Django
A Django template is a text document, like HTML, with Jinja syntax.
The syntax of the Django template language involves four constructs which are {{ }} or {% %}.
In this shot, we will look into cycles as a Django template tag. The cycle tag is useful in loops and is used to cycle through a list of arguments. It produces an argument of its own during a looping process.
Code
An example of how to use the cycle template is provided below.
{% for data in queryset %}
    <trrow1' 'row2' %}">
        {{data}}
    </tr>
{% endfor %}
Explanation
In the above example, the first element in queryset is assigned class row1. The second item is assigned row2. The third is also assigned row1 since the cycling arguments end and are so repeated until all the elements of queryset have been assigned either of the classes.
Making a Django application
The steps below show how to make a Django application that uses the cycle template.
Step 1
Add these commands on the command line.
pipis the package installer for Python.
pip install pipenv
pipenv shell
pipenv install django
Step 2
django-admin startproject DjangoCircle ./
python manage.py startapp
codebase
Step 3
python manage.py migrate
python manage.py runserver
Step 4
Go to settings.py and do the following.
settings.pyhelps register your app and packages that are being installed write rules.
# Application definitionINSTALLED_APPS = ['django.contrib.admin','django.contrib.auth','django.contrib.contenttypes','django.contrib.sessions','django.contrib.messages','django.contrib.staticfiles','codebase',]
Step 5
In the codebase app folder, go to models.py.
This file is responsible for creating the model for the database
from django.db import modelsfrom django.urls import reverseclass CRUD(models.Model):name = models.CharField(max_length=30)age = models.IntegerField()level = models.CharField(max_length=30)date = models.DateTimeField(auto_now_add=True)def __str__(self):return self.namedef update_url(self):return reverse('update', kwargs={"id": self.id})
Step 6
Go to admin.py In this file, we register our previously created model by importing it. By doing so, we can see the model when logged in as admin.
from django.contrib import adminfrom .models import CRUDadmin.site.register(CRUD)
Step 7
The views.py file is used to create functions or classes that visualize how a route will operate.
from django.shortcuts import renderfrom .models import CRUDdef home(request):queryset = CRUD.objects.all().order_by('-date')context = {'queryset': queryset}return render(request, 'app/base.html', context)
In the codebase app, create a folder and name it “templates.”
Inside the “templates” folder, create another folder and name it “app.” Then, inside the “app” folder, create the base.html file.
Here, we see how to use circles to display our data in HTML.
<!DOCTYPE html><html lang="en"><head><meta charset="UTF-8"><meta name="viewport" content="width=device-width, initial-scale=1.0"><title>Crud</title><!-- bootstrap --><link href="https://cdn.jsdelivr.net/npm/bootstrap@5.0.0-beta1/dist/css/bootstrap.min.css" rel="stylesheet" integrity="sha384-giJF6kkoqNQ00vy+HMDP7azOuL0xtbfIcaT9wjKHr8RbDVddVHyTfAAsrekwKmP1" crossorigin="anonymous"></head><body><div class="container mt-3"><hr><!-- the block is used to loop the dataset -->{% for data in queryset %}<!-- setting using cycle in the template --><div class="{% cycle 'row1' 'row2' %}"><!-- double curly braces use to display data -->{{data.name}}{{data.age}}{{data.level}}</div><!-- end of the forloop -->{% endfor %}</div></body></html>
Step 8
In the DjangoCircle folder, in the urls.py file do the following.
from django.contrib import adminfrom django.urls import path, includeurlpatterns = [path('admin/', admin.site.urls),# including the codebase urls.py filepath('', include('codebase.urls'))]
Step 9
Then in the “codebase” folder, create a file and name it urls.py.
from django.urls import pathfrom .view import homeurlpatterns = [path('',home, name="home" ),]
Step 10
Run the following commands.
python manage.py makemigrations

python manage.py migrate
Step 11
Create a superuser and input data in it:
python manage.py createsuperuser
Step 12
After that, run:
python manage.py runserver
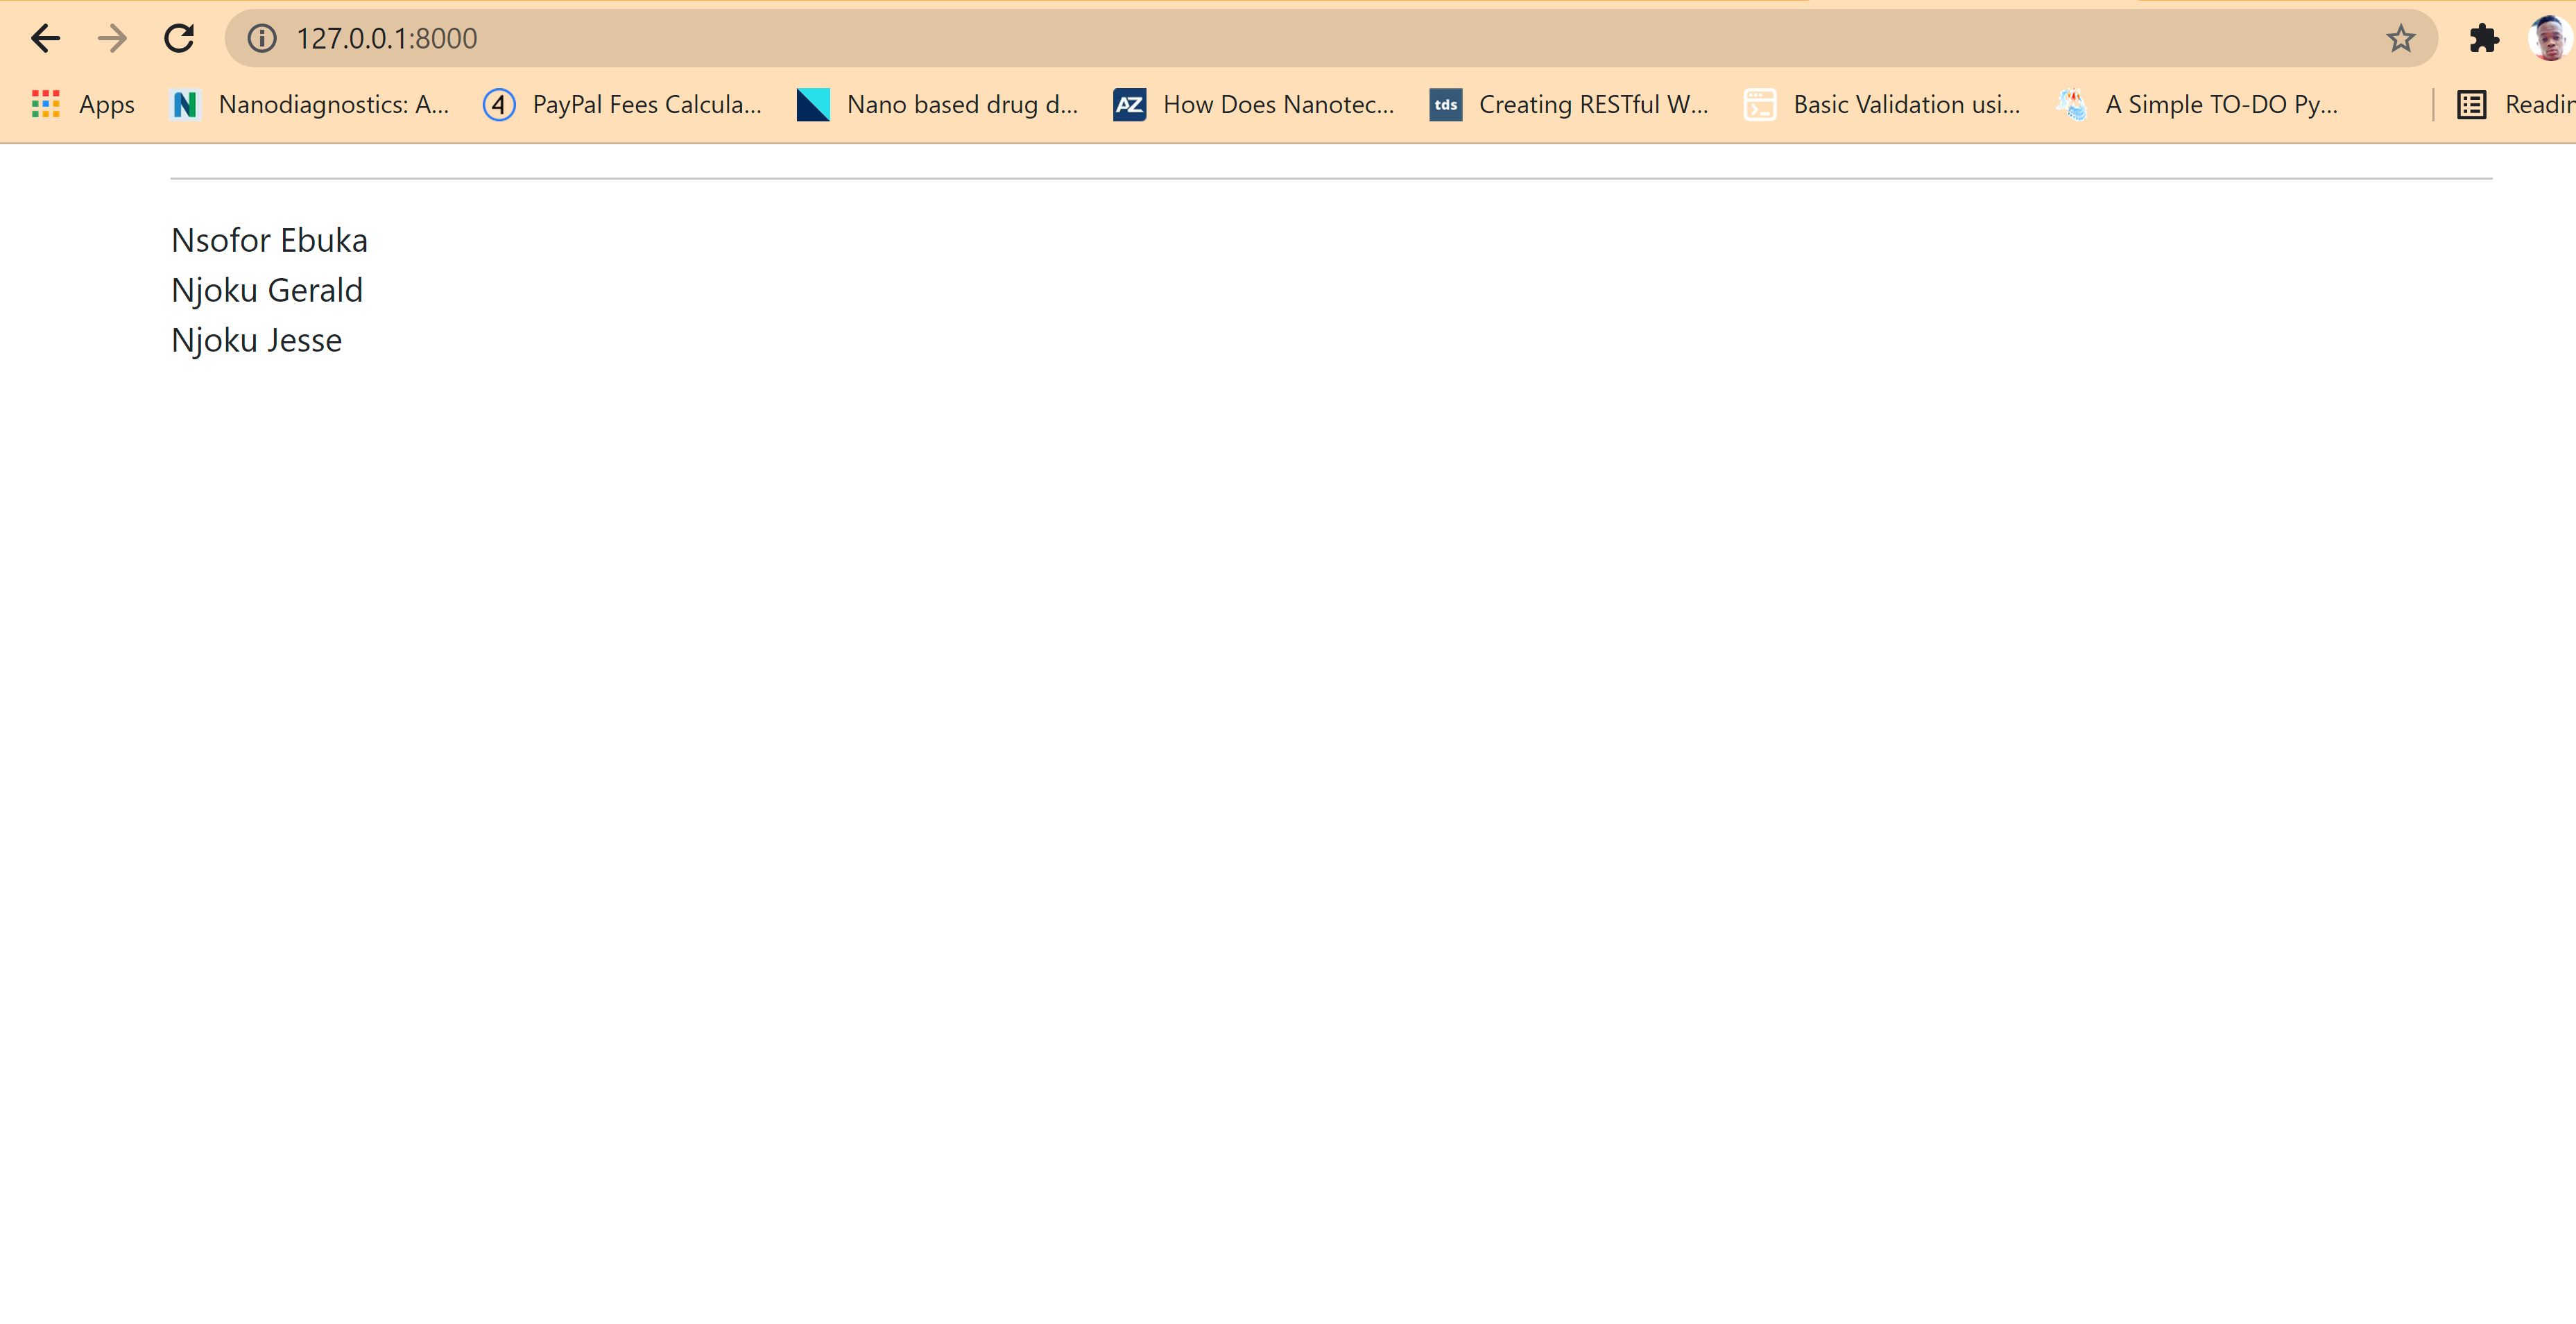
Then go to http://127.0.0.1:8000/admin to access the admin page and create data there or http://127.0.0.1:8000 to access the homepage.
