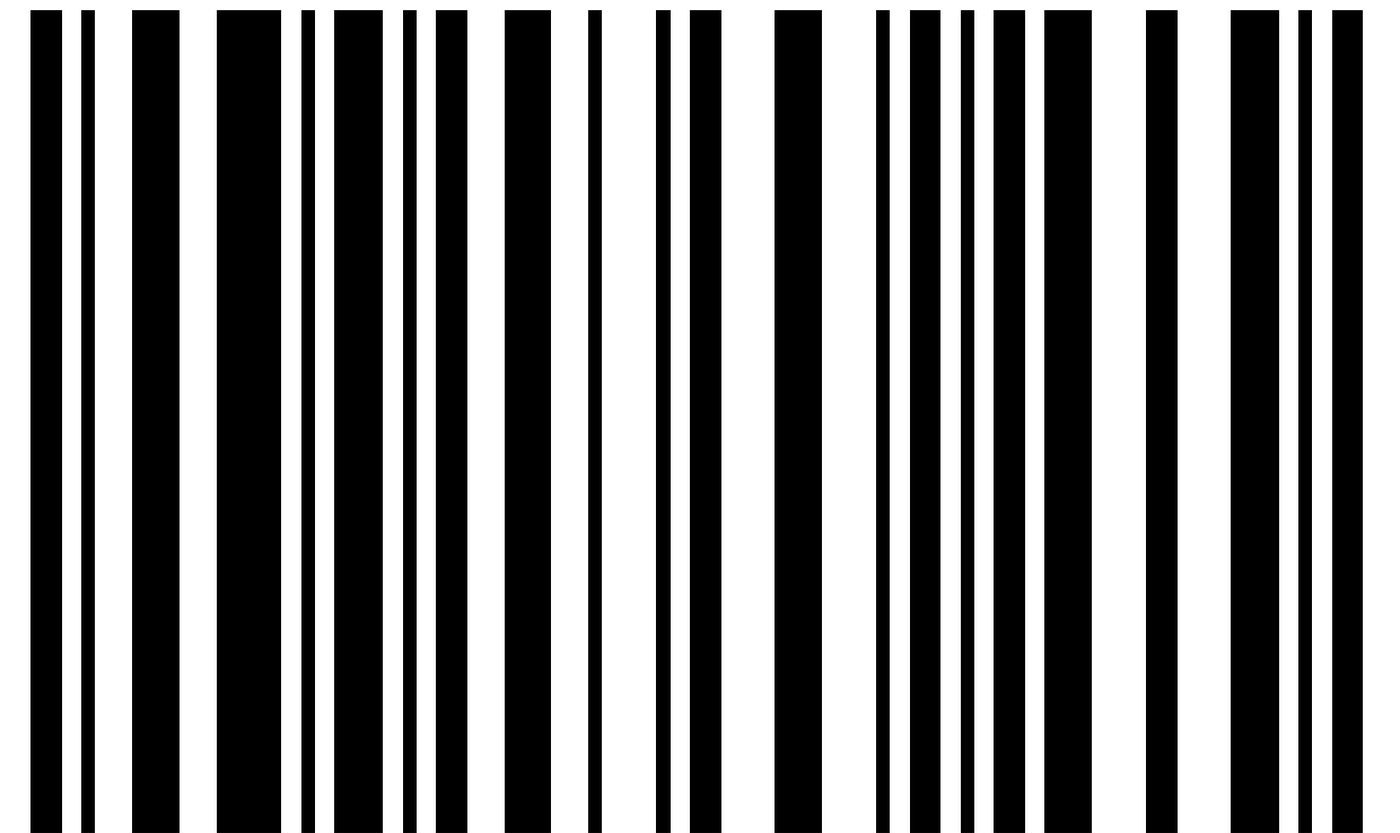
How to generate barcodes in laravel applications
Generating barcodes in an application has become a crucial ability.
If you have been having trouble doing this in your own applications, this shot will make it a breeze.
In just three steps you can get this up and running:
Step 1: Installation
First, we install milon\barcode, which is a composer package that supports barcode generation as follows:
composer require milon/barcode
Step 2: Controller Setup
public function generateBarcode(Request $request){$id = $request->get('id');$product = Product::find($id);return view('barcode')->with('product',$product);}
The main purpose of the function in the above code is to return the barcode of the product received in the $request.
The function does so in three steps:
- Extracts
idof the$request - Finds the
productcorresponding to the$id - Returns the barcode of the
$product
Step 3: View Setup
The view for the function in Step 2 looks like this:
<div class="barcode"><p class="name">{{$product->name}}</p><p class="price">Price: {{$product->sale_price}}</p>{!! DNS1D::getBarcodeHTML($product->pid, "C128",1.4,22) !!}<p class="pid">{{$product->pid}}</p></div>
In this view, we print the name, sale-price, barcode (using the DNS1D::getBarcodeHTML() method), and the pid of the product.
The DNS1D::getBarcodeHTML() receives four arguments:
-
An identifier: In this case, we used the product id.
-
Barcode type: In this case, we used the C128.
-
Barcode height (dimension)
-
Barcode width (dimension)
