How to divide an image into multiple sub-images in Java
Many applications require image manipulation techniques. Whether you need to transmit images over a network, split an image into different icons, or improve the general aesthetics of your website, image splitting and concatenation become necessary. Fortunately, the imageio package in Java provides the relevant functionality to perform image manipulation with a few easy steps.
To split an image into multiple sub-images, you will need to import the ImageIO into your program, as shown below:
import javax.imageio.ImageIO;
The ImageIO package contains methods that allow you to perform read/write and encoding operations on images.
You will also need the BufferedImage subclass to manipulate image data. You can use the BufferedImage subclass as shown below:
import java.awt.image.BufferedImage;
To split an image into multiple sub-images, you first need to decide how many sub-images you require, e.g., if you want to split an image into sub-images, you will need to split the image into rows and columns.
Once you decide on the rows and columns for splitting your image, you are ready to use the methods provided by the ImageIO package to split the image.
The process for splitting an image is as follows:
- Read the original image file into the program.
- Initialize an
arrayto hold the sub-images. - Run a double
for-loopfor the required number of rows and columns. Each row or column represents an individual sub-image. - For each sub-image, determine the source image coordinates where the sub-image should be extracted from.
- Write each sub-image to their respective files.
Example
The code below shows how you can divide an image into multiple sub-images in Java:
import javax.imageio.ImageIO;import java.awt.image.BufferedImage;import java.io.*;import java.awt.*;import java.net.URL;public class Main {public static void main(String[] args) throws IOException {// Setting Chrome as an agentSystem.setProperty("http.agent", "Chrome");// reading the original image file// File file = new File("https://www.educative.io/api/edpresso/shot/5120209133764608/image/5075298506244096/test.jpg");// FileInputStream sourceFile = new FileInputStream(file);// reading the file from a URLURL url = new URL("https://www.educative.io/api/edpresso/shot/5120209133764608/image/5075298506244096/test.jpg");InputStream is = url.openStream();BufferedImage image = ImageIO.read(is);// initalizing rows and columnsint rows = 4;int columns = 4;// initializing array to hold subimagesBufferedImage imgs[] = new BufferedImage[16];// Equally dividing original image into subimagesint subimage_Width = image.getWidth() / columns;int subimage_Height = image.getHeight() / rows;int current_img = 0;// iterating over rows and columns for each sub-imagefor (int i = 0; i < rows; i++){for (int j = 0; j < columns; j++){// Creating sub imageimgs[current_img] = new BufferedImage(subimage_Width, subimage_Height, image.getType());Graphics2D img_creator = imgs[current_img].createGraphics();// coordinates of source imageint src_first_x = subimage_Width * j;int src_first_y = subimage_Height * i;// coordinates of sub-imageint dst_corner_x = subimage_Width * j + subimage_Width;int dst_corner_y = subimage_Height * i + subimage_Height;img_creator.drawImage(image, 0, 0, subimage_Width, subimage_Height, src_first_x, src_first_y, dst_corner_x, dst_corner_y, null);current_img++;}}//writing sub-images into image filesfor (int i = 0; i < 16; i++){File outputFile = new File("img" + i + ".jpg");ImageIO.write(imgs[i], "jpg", outputFile);}System.out.println("Sub-images have been created.");}}
Explanation
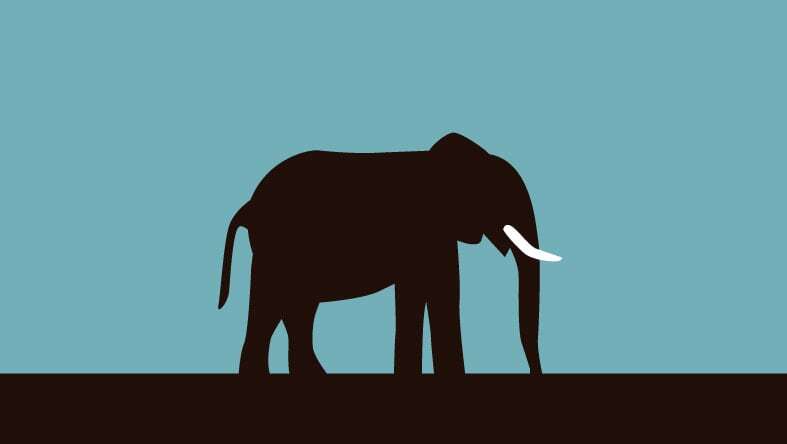
First, a URL object creates a readable stream to the source image. Since the file is an image, the read method of the ImageIO library is used to read the image data into the image variable. The image, test.jpg, is shown below:

Note: You can read the image file through either the URL-based method in lines or from your local directory as shown in the comments in lines .
Next, the code initializes an array of BufferedImage objects to hold the sub-images. Since the original image will be split into pieces (dividing the source image into rows and columns), you must ensure that the array has sufficient capacity to store all the pieces.
The code proceeds to determine the height and width of each sub-image. In the context of this example, the source image is split equally into sub-images, so the height and width of the source image are divided equally among the sub-images. Depending on your requirements, you may allocate different values for the height and width of individual sub-images.
With the initialization complete, the next step is to create the sub-images. The code uses a nested for-loop that iterates over the required number of rows and columns, i.e., each. Each iteration of the inner for-loop results in the creation of a new sub-image with the specified width, height, and type (
The code uses the Graphics2D class to extract the sub-image from the original image. The drawImage method allows you to specify the coordinates of the original image from where you wish to cut the sub-image. The parameters 0, 0, subimage_Width, and subimage_Height to the drawImage method represent the -coordinates for adjacent corners of the new sub-image, respectively. Similarly, the next parameters specify the original image coordinates from where each sub-image must be extracted.
Finally, all the sub-images are written to their respective files. A for-loop iterates over the sub-image array and the ImageIO.write() method creates a new JPG file for each sub-image. Each of the sub-images represents the grids shown in the image below:
Note: You can read up further on the Graphics2D, ImageIO, and BufferedImage classes and packages to learn more about image manipulation.
Free Resources