How to create and color a button in .kv file with Kivy in Python
I hope everyone is having a good day. We will flavor this shot using the Kivy design language by creating a .kv file. To do this, open or create a directory that you want to use to make a simple button app. This can be done in the following way:
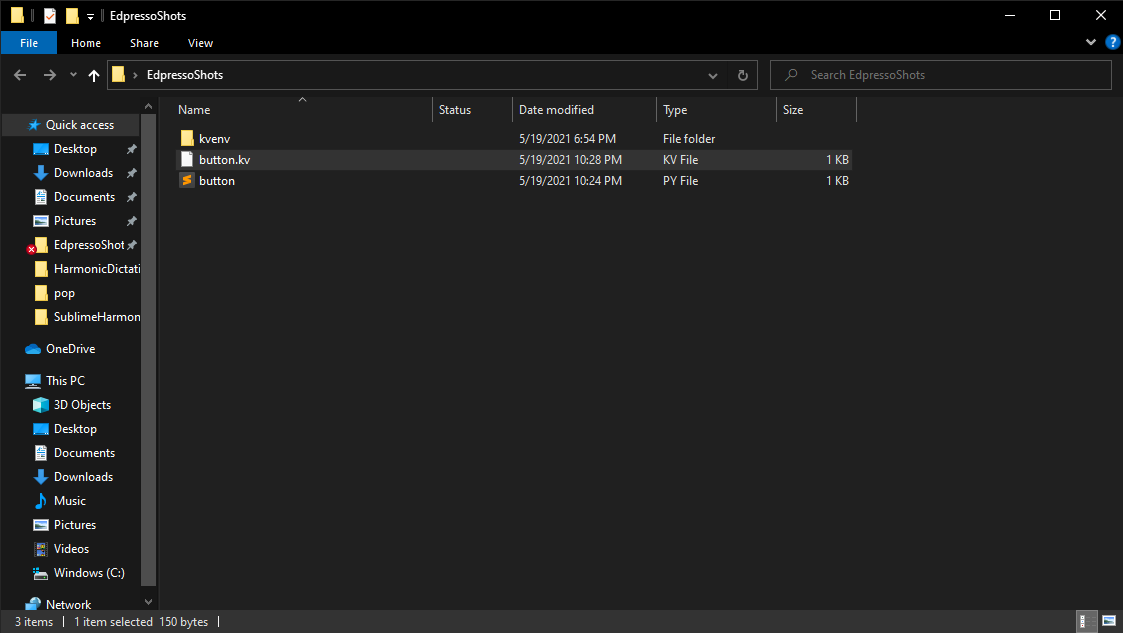
As you can see, I have already created the button.kv file. From here, we will open our files with a text editor.
To start, we need to import the App, Button, Widget, and Builder class from Kivy into button.py.
It will look like this:
from kivy.app import Appfrom kivy.uix.button import Buttonfrom kivy.uix.widget import Widgetfrom kivy.lang import Builder
We then need to use the Builder class from Kivy to call our button.kv file, as shown below:
from kivy.app import Appfrom kivy.uix.button import Buttonfrom kivy.uix.widget import Widgetfrom kivy.lang import BuilderBuilder.load_file('button.kv')
We have now called our button.kv file. So, let’s open button.kv and make our button using the Kivy design language.
The first thing we need to do in our button.kv is make a widget, < AwesomeButton >, to connect to our class, AwesomeButton(), in our button.py file. We then have to make a layout with GridLayout. Then, we can make our awesome button.
The button.py should look like:
from kivy.app import Appfrom kivy.uix.button import Buttonfrom kivy.uix.widget import Widgetfrom kivy.lang import Builder# Call the Kivy fileBuilder.load_file('button.kv')# The class that will be linked to the rule in the Kivy fileclass AwesomeButton(Widget):passclass ButtonApp(App):# Build and display the buttondef build(self):return AwesomeButton()ButtonApp().run()
Now, let’s write the code for the button.kv, as shown below:
#:kivy 2.0.0<AwesomeButton>GridLayout:cols: 1size: root.height, root.widthButton:text: 'I am the Awesome Button!'
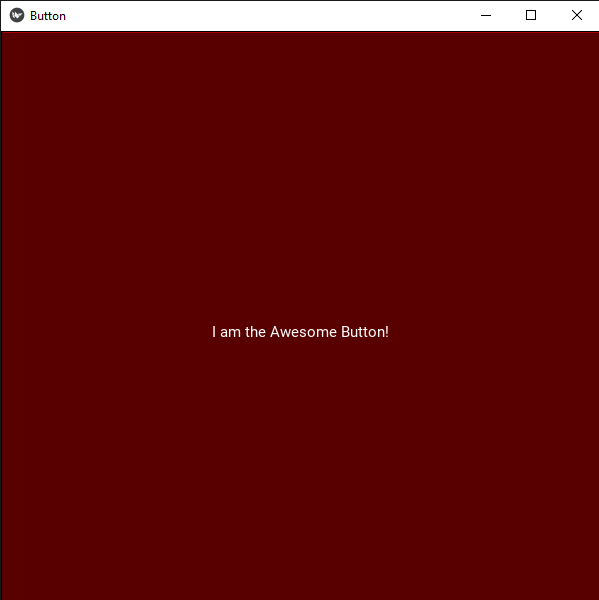
If you run the button.py file, you should get an output that looks something like this:

Now, that we’ve created our awesome button, it’s time to add some color to it.
This is almost the same as doing it in the Python file.
We will first make the button red. This will be its background_color: (1,0,0,1). The background_color uses the RGB system – the best way to look at this tuple is (Red, Green, Blue, Opacity). The 1 represents 100% of red to be added, and the 0s are 0% of the green and blue to be added.
If you want different shades of red or a different color, you can look up what color you desire on an HTML color picker. Once you find your desired color, use the RGB values it returns to divide them by 255. Instead of using the ones and zeros in the tuple for background_color, we can use the following:
background_color: (255/255, 0/255, 0/255, 1).
Alright, now, let’s turn our awesome button red. We do not have any more changes to make to our button.py file, so I will only show the button.kv code that needs to change:
#:kivy 2.0.0<AwesomeButton>GridLayout:cols: 1size: root.height, root.widthButton:text: 'I am the Awesome Button!'background_color: (1, 0, 0, 1)
Run the button.py once you have added the background_color to your button.kv file. The output should look like this:
We have just created and changed the color of our awesome button using the Kivy design language. I have written a shot for doing this in the button.py file, so if you are curious about how to do that, refer to my ‘How to create and color a button in a .py file with Kivy’ (coming soon!).
Happy Coding!